About Saddle Pressure Mapping at Bike Fit Studio
Saddle Pressure Mapping at Bike Fit Studio uses Wiva Saddle Technology. This sensor technology provides us with real time data to analyze where you put pressure on the saddle.
Incorrect pressure distribution, and incorrect saddle selection can lead to pressure sores, genital numbness, and erectile dysfunction.
Price & Duration
Only €100
Upgrade
Add saddle pressure mapping to any bike fit for only €75
Benefits
Address numbness
Reduce pain
Identify best saddle for you
Limitations
Cannot fix injuries
Cannot fix imbalances immediately
Saddle Pressure Mapping Overview
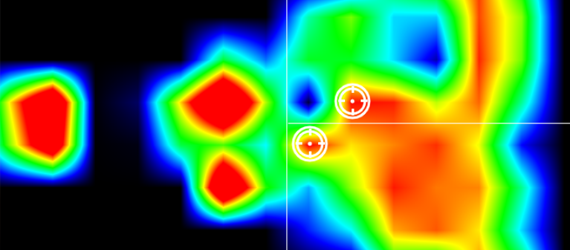
This service is called saddle pressure mapping. This is because we use Wiva saddle pressure technology to get a full surface area view of the pressure points between you and the saddle, with real time data.
Pressure in the wrong area, or too much in one area, can lead to pain, numbness, and saddle sores. These are common issues for many cyclists, even though the solution is relatively simple.
By mapping your pressure across the saddle, we can optimise your saddle and reduce the typical issues related to incorrect saddle selection.
Saddle Pressure Mapping in Detail
When you come to Bike Fit Studio for saddle pressure mapping, we gather real time data to map the pressure zones that you may not feel until after long distances cycling.
We analyse your anatomy, focusing on your pelvis and sit bones. Along with this understanding of your anatomy and bio-mechanics, we analyze the data from the Wiva saddle pressure sensor.
Through this analysis, we can identify the specific saddle length and width that suits your anatomy, riding style, and cycling discipline. Read below for full details.

Pre-Fit: Cyclist Survey and Checklist
Once you book your saddle pressure mapping appointment, we will send you an email with a questionnaire to fill out. This gives us information regarding your specific discipline, your challenges, and any injuries or issues you have. By completing this before your appointment, we can prepare for your saddle pressure mapping and plan your appointment specifically for you.
Step 1: Initial Saddle Evaluation
Every Bike Fit Studio Appointment starts with an initial assessment — whether it is a bike fit, or saddle pressure mapping. We discuss your cycling history, any previous injury issues, points of discomfort, cycling experience, and your goals in cycling.
We then place you on your bike with your current saddle. On this saddle we place the Wiva pressure sensor. With this applied, we begin testing you in motion, and assess the real time data to get an initial capture of your pressure points on the saddle.
Step 2: Evaluation of Pelvis Mobility
After we take our initial capture of your saddle pressure profile, we move onto our next bio-mechanical test.
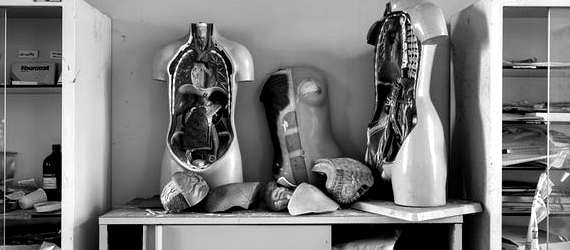
This test is called the Stork test. The Stork test is designed to assess your pelvis mobility, and identify any issues and imbalances in the pelvis. This will help us to get a better understanding of the data from your initial saddle pressure mapping.
Step 3: Define Most Suitable Saddle
Taking our bio-mechanical tests, and your initial saddle pressure mapping data into account — we begin defining the best saddle for you.
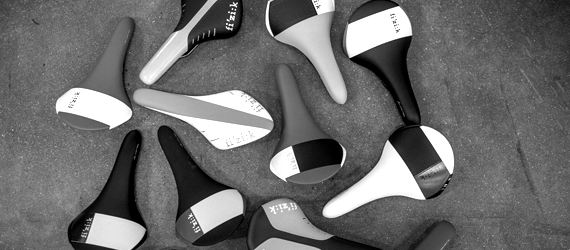
This is based on your anatomical measurements, your cycling discipline, and the issues you may be dealing with. We have a full range of saddles in Bike Fit Studio for you to choose from, along with a test program so you can evaluate it in your own time.
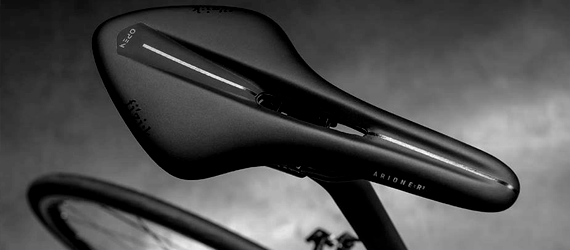
Step 4: Install Saddle and Re-Test
Once the best saddle option has been defined, we move to test again.
The next phase of testing applies the Wiva saddle pressure sensor, and begins gathering real time data as you cycle under real simulated conditions.
Based on consultation with you, and comparison of the data from your initial evaluation — we can evaluate if the saddle is correct for you, your anatomy, and your cycling discipline. If after this evaluation we don’t get the expected result, we repeat this step with various saddles until the best match is found.
Step 5: 10 Day Saddle Testing
Once your ideal saddle is identified, we begin to finalize your saddle pressure mapping appointment.
We know that all scenarios cannot be covered in less than 2 hours. For this reason, we operate a 10 day testing phase post appointment. This allows you to ride on the saddle in your typical conditions. over the distances you are used to. This allows you to confirm that you have the most suitable saddle.
After 10 days, we move onto the final step in our saddle pressure mapping service.

Step 6: Feedback and Decision Making
After 10 days with the saddle, you will return your test saddle to Bike Fit Studio.
If the saddle meets your expectations, you can purchase your selected saddle model here at Bike Fit Studio. As part of the service, we fit your saddle to match the ideal setup that was identified during your saddle pressure mapping appointment.
Opening Hours
Bike Fitting by Appointment Only
Open 7 Days a Week
Mon–Sat: 8am – 10pm
Sunday: 1pm – 9pm
Contact us on 087 988 1511.
